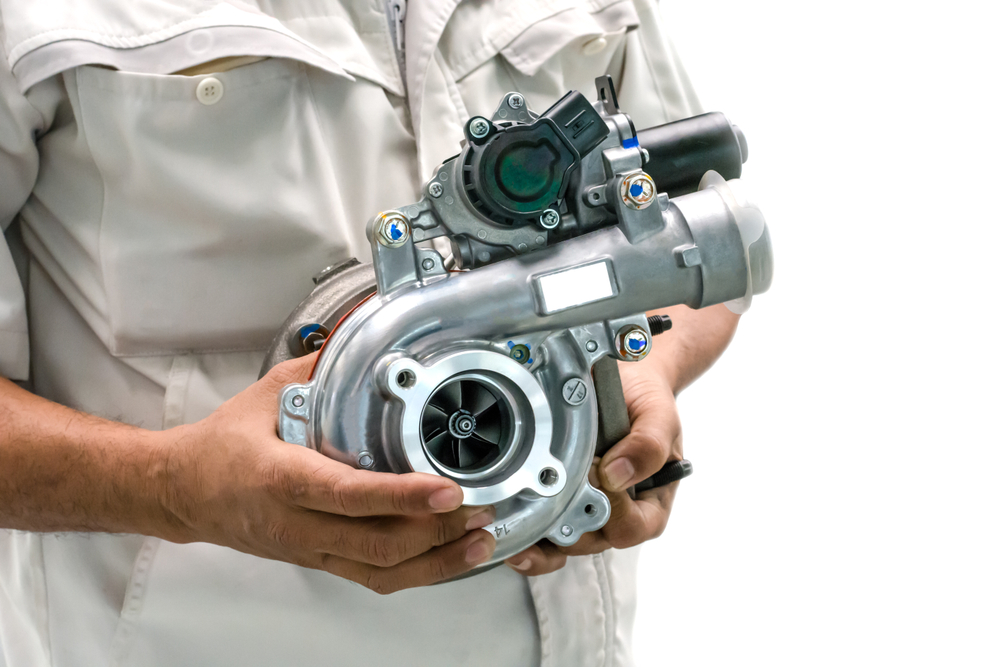
A turbocharged engine comes with a lot of advantages and gives more power to the engine giving you a better driving experience. However, advance the technology gets there is always a chance of failure of the turbocharger. If you own a vehicle with the turbocharged engine it is good for you to know the basics of turbo repair. Having the basic knowledge might come handy if the turbo fails in a stranded road and you are on your own. In this article, we have discussed the step by step process to perform a turbo repair.

How to Repair A Turbocharger?
Tools you need: Along with a basic knowledge of how a turbocharger works there are several tools that are required to repair a turbo. You must have the technical manual of the turbocharger. Along with this, you will need grease rags, turbocharger toolkit, cleaning solvent, turbocharger assembly, oil drain line and boost controller spring.
After assorting all the required tools, the first thing you need to do is to clean the exterior of the turbocharger with a clean solvent. After cleaning the exterior of turbocharger make sure you wipe away all the moisture from it. Make sure the exterior surface is dry.
The main function of a turbocharger is to force air into the engine. Therefore, one of the most important parts of turbo repair is to clean the air passage. Make sure you replace the air filtering element in the turbocharger.
Inspect the entire compressor to intake duct joints. You should make sure none of them are loose. If you find any loose connection tighten it properly.
Inspect the duct area or compressor housing. If you find any object that does not belong to the compressor housing, remove it. Clean the entire housing unit, any dirt or foreign object in the housing unit may lead to carbon accumulation.
Take out the air filter with caution. If you have a new air filter, then replace it otherwise clean the air filter but get it replaced sooner because a dirty air-cleaning system causes oil seal leakage on the compressor.
By referring to the manufacturer’s manual adjust the level of the oil in the crankcase. Make sure the oil level is not more or less than the recommended level in the manual.
Inspect all hoses entering into and going out of the turbo. If the turbo is creating more noise, there must be some kind of obstruction in the hoses. Remove any kind of obstruction and reattach the clamps securely and tightly.
Conclusion:
The boost controller has a spring called the boost controller spring. Make sure the spring is intact and has not worn out. If it is then it is time to change the boost controller spring. A worn spring results in the reduction of the power output. Follow the instructions given in the manual to replace the spring.
Check the oil drain line for any clog. A clogged oil drain is a common reason for a noisy turbo. Thick draining oil indicates an obstruction in the oil line. Replace the oil drain line with a new one.
These are the steps that one can follow to carry out a successful turbo repair. Any inexperienced mechanic or a car owner repairing a turbocharger will think it is a very complicated process. The basic knowledge of turbo repair will be able help you solve most of the common problems easily. The most important thing while performing a turbo repair is to understand the problem well.


